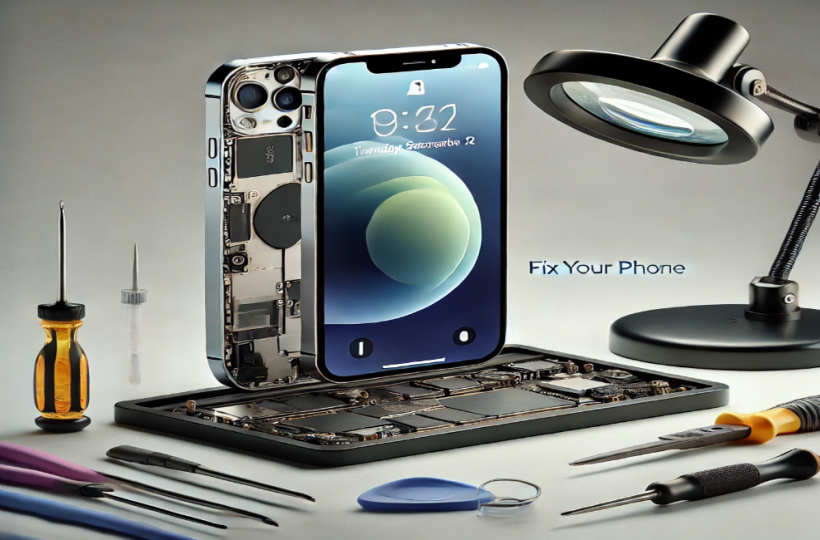
A cracked or malfunctioning iPhone screen can significantly impact your daily life, but professional repairs can be costly. This comprehensive guide will walk you through the process of iPhone 16 Screen Replacement at home, helping you save money while restoring your device to perfect working condition. Whether you're dealing with a cracked display, touch responsiveness issues, or dead pixels, this step-by-step guide will ensure a successful repair.
Before embarking on this iPhone 16 Screen Replacement journey, it's crucial to gather all necessary tools and create an appropriate workspace. You'll need an iPhone screen replacement kit, which typically includes a P2 pentalobe screwdriver, Y000 driver, and opening picks. Additional essential items include an anti-static wrist strap, heat gun or hairdryer, suction cup, adhesive tape, and an Anti-Clamp tool. Having a clean, well-lit workspace is equally important as the tools themselves.
The first step in successful iPhone 16 Screen Replacement is proper preparation. Back up your iPhone data to ensure no valuable information is lost during the repair process. Power down your device completely and organize your workspace with all tools readily available. Wearing an anti-static wrist strap is crucial to prevent any potential damage to your device's sensitive electronic components.
If your iPhone's screen has cracks and you want iPhone 16 Screen Replacement at home, begin by applying clear packing tape over the damaged areas. This safety measure prevents glass shards from falling during removal and ensures safer handling throughout the repair process. Next, locate and remove the two pentalobe screws at the bottom of your iPhone using the P2 pentalobe screwdriver. Store these tiny screws in a magnetic tray or labeled container to prevent loss.
Before proceeding with the screen removal, secure the back glass with protective tape to prevent scratches and ensure stable positioning on your work surface. The Anti-Clamp tool should be attached at this stage to maintain the frame's structural integrity and prevent any bending during the repair process.
The iPhone 16 Pro Max screen removal process begins at the bottom edge of the device. Apply heat carefully to soften the adhesive, maintaining a temperature between 95-105°F (35-40°C). Use the suction cup to create an initial separation, pulling steadily but gently to create a small gap. Once this gap is established, slide an opening pick into the space, keeping it shallow to avoid damaging internal components.
Working methodically around the device's edges is crucial. Heat each side (right, top, and left) individually, using opening picks to separate the adhesive as you go. Maintain consistent temperature and pressure, watching for any unusual resistance that might indicate a problem. This process requires patience and attention to detail to prevent damage to both the screen and the device's frame.
Once all edges are free, carefully prop up the screen at a 90-degree angle, being mindful of the connector cables that still attach it to the device. Remove the connector covers using the Y000 driver, storing these components safely for reassembly. The screen connectors can then be carefully disconnected – note their orientation and connection order for later reassembly.
iPhone 16 Screen Replacement requires the same level of care and attention as the removal process. Begin by thoroughly inspecting the new screen for any damage and cleaning the frame of any remaining adhesive. If your replacement screen didn't come with pre-applied adhesive, apply new adhesive carefully around the frame's edges.
Connect the screen connectors in the reverse order of removal, ensuring each connection is secure but not forced. Before sealing the screen completely, it's wise to test its functionality to ensure all connections are proper. Once testing is complete, carefully align the screen and apply even pressure around all edges to ensure proper adhesive bonding.
After iPhone 16 Screen Replacement , thoroughly test all screen functions including touch response, display quality, and front sensor operations. Common issues that might arise include unresponsive areas, dead spots, or display lines. Most of these problems can be resolved by checking connector cleanliness and proper seating of all components.
Throughout the iPhone 16 Screen Replacement process, maintaining proper safety protocols is essential. Always work in a static-free environment and handle components with care. Document each step of your repair process with photos or notes for reference. The iPhone 16's water resistance may be compromised after screen replacement unless proper adhesive and sealing techniques are used.
Many users ask about the time requirement for iPhone 16 Screen Replacement. For beginners, the process typically takes 45-60 minutes, while experienced users can complete it in about 30 minutes. Another common concern is water resistance – yes, it may be compromised unless proper sealing techniques are used. Using new adhesive is always recommended over reusing old adhesive for the best results.
iPhone 16 Screen Replacement is a delicate but achievable task with the right tools and guidance. While the process requires patience and attention to detail, successful completion can save considerable money compared to professional repair services. Remember that if at any point you feel uncomfortable with the repair process, it's better to seek professional assistance than risk further damage to your device.
The key to success lies in careful preparation, methodical execution, and thorough testing after completion. By following this guide and taking appropriate precautions, you can restore your iPhone 16 to its original functionality while gaining valuable repair experience.

